Welcome to Dudley’s Blog’s, This blog is to show and tell you how to replace the Mono LCD Panel on Elegoo Mars 5 Ultra.
STUFF YOU NEED
THE PRINTER WITH DAMAGED MONO LCD PANEL
SOMETHING TO PUT THE SCREWS INTO
YELLOW SCRAPER
KITCHEN ROW
HOBBY KNIFT
WATER
BIN
SOFT CLOTH
ALLEN KEYS
GLOVES
TO TEST MONO LCD PANEL
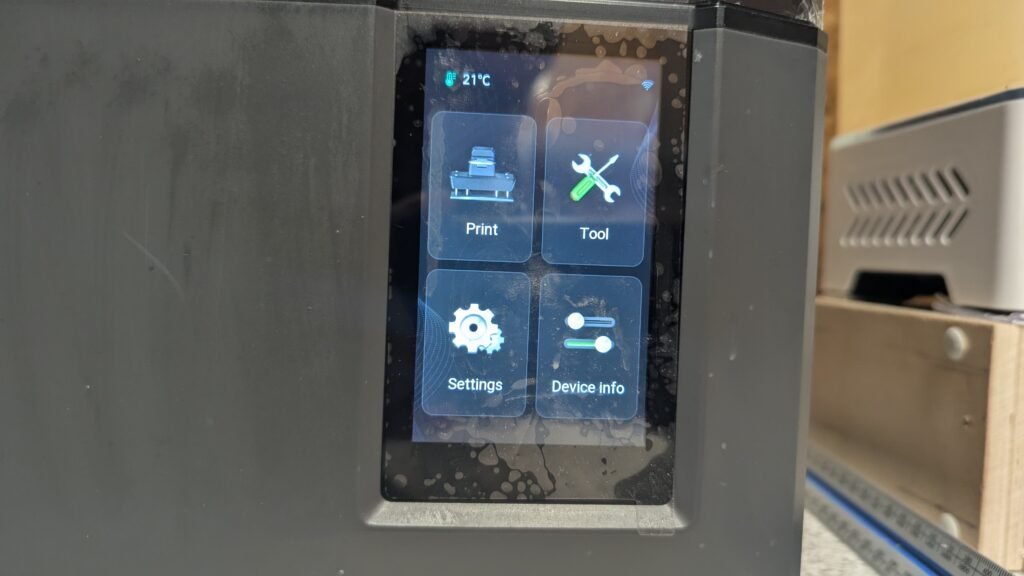
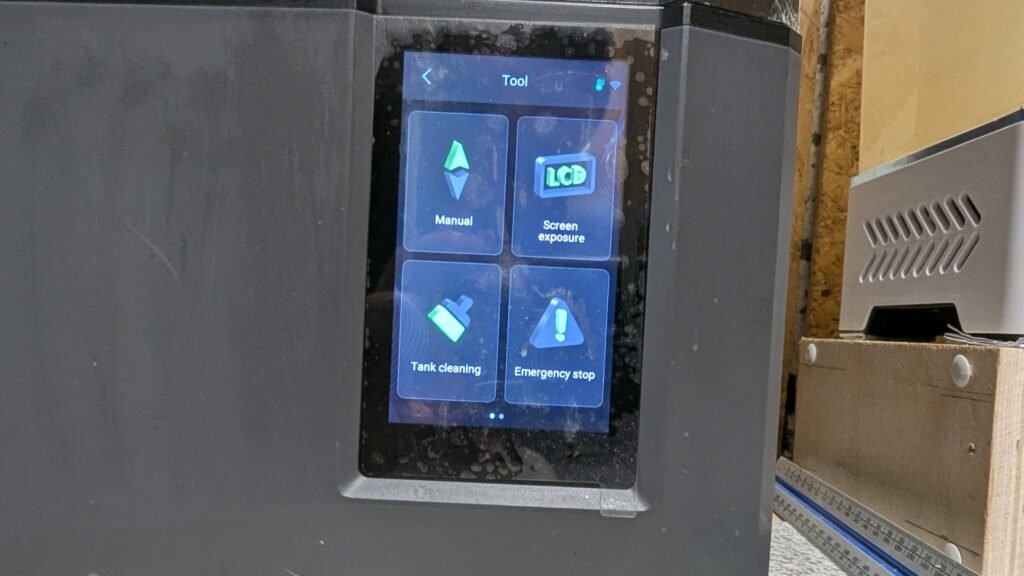
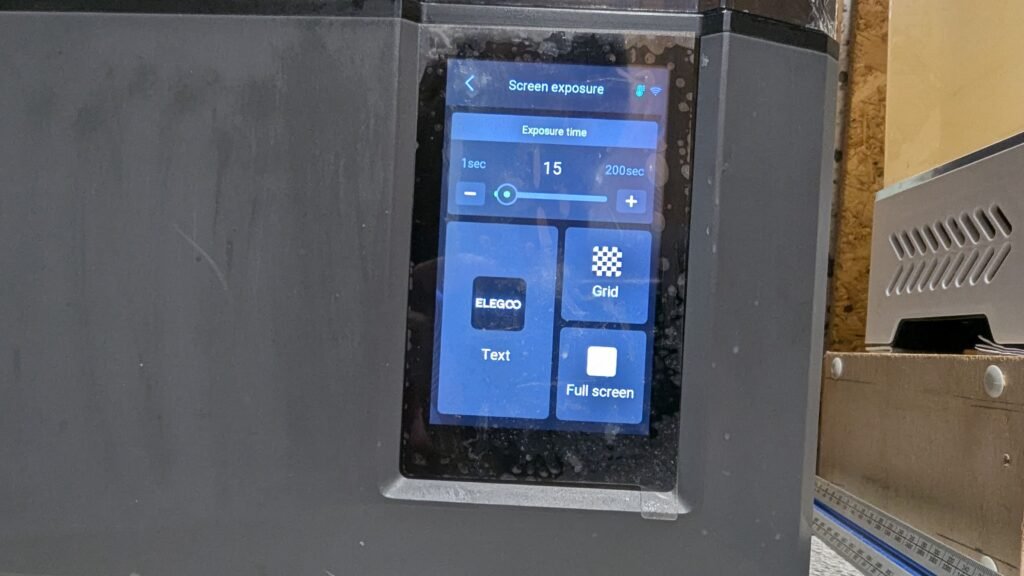
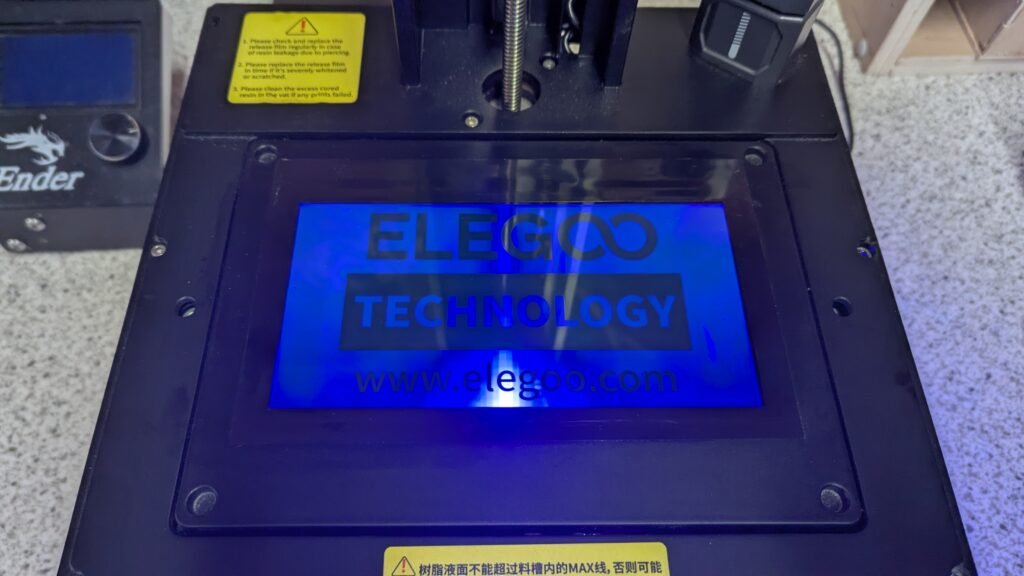
Go to the small LCD screen on the printer go to tools and click it then Screen Exposure then click test, The screen will go blue and you will be able to see the crack more clearly, Then you know it’s broke, If your looking to get the Mono LCD Panel click here and you will get the sameone as me.
REPLACING FEP
If you have been looking on the internet on how to do this and come across the video by Elegoo, Please use it it’s good and most probley better then this but on there video they take it all apart and I can see why they do that and it’s better and safer and if you want to do that your more then welcome, I am just sharing what I learned from doing it myself and sharing what worked for me, So they took all the sides and bottom off and how I did it was just removing screws from the top and back and one side this means there is less stuff to get lost and not make you get overromend bay it, and its just easyer to do,
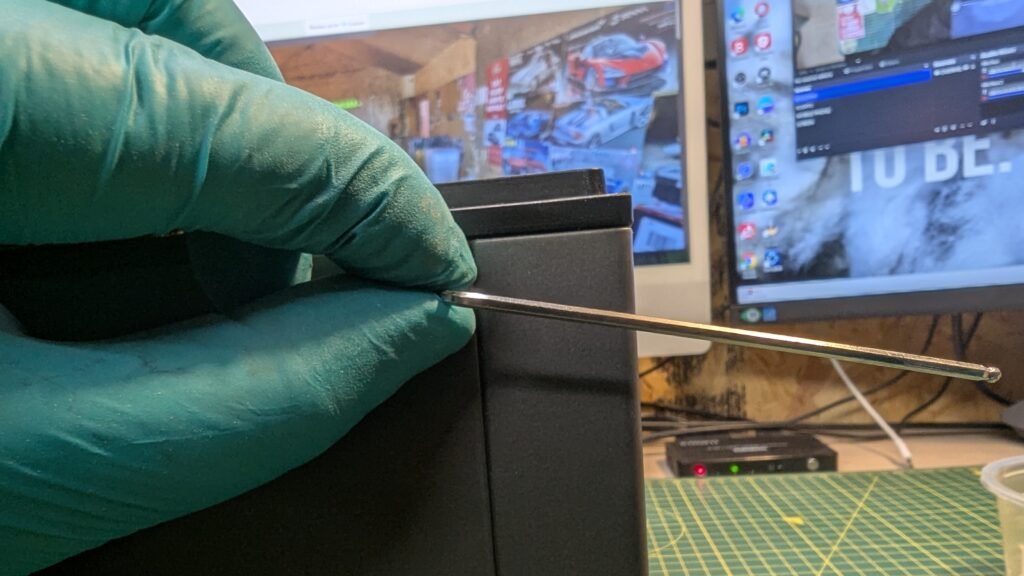
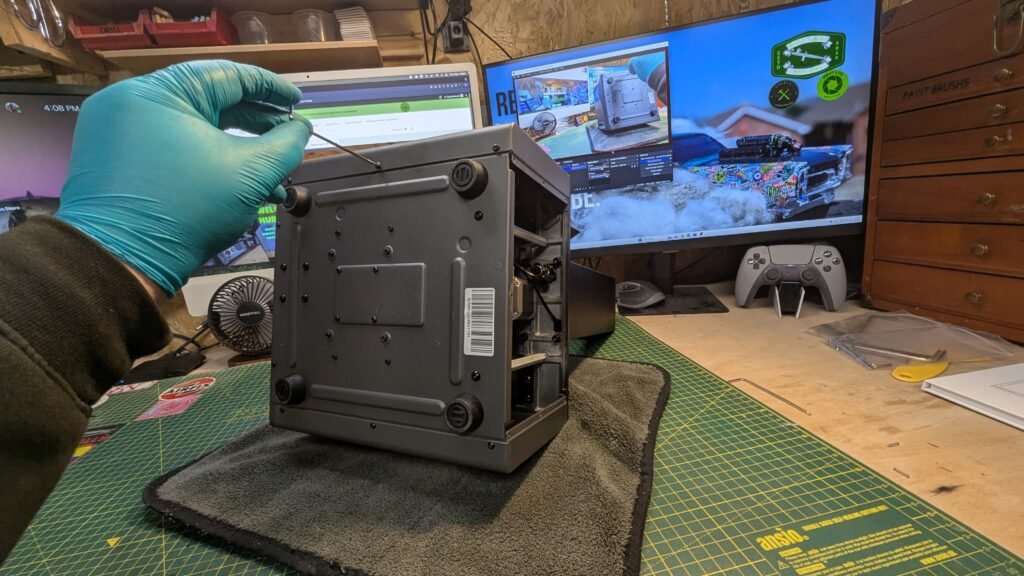
Remove the screws from the top of the printer where the tank for the resin gose and the built plate gose and using Allen keys then remove the screws from back and the side where the off and on button is with wifi and usb by unscrews using Allen keys Remove. Please don’t let the side just fall the wifi cable is bad and to thin and hard to get, Trust me I am now with out the wifi and camera for it. That will be a other blog. But at the moment from the 03/11/25 I have got now camera and wifi for it, So please be slow and careful
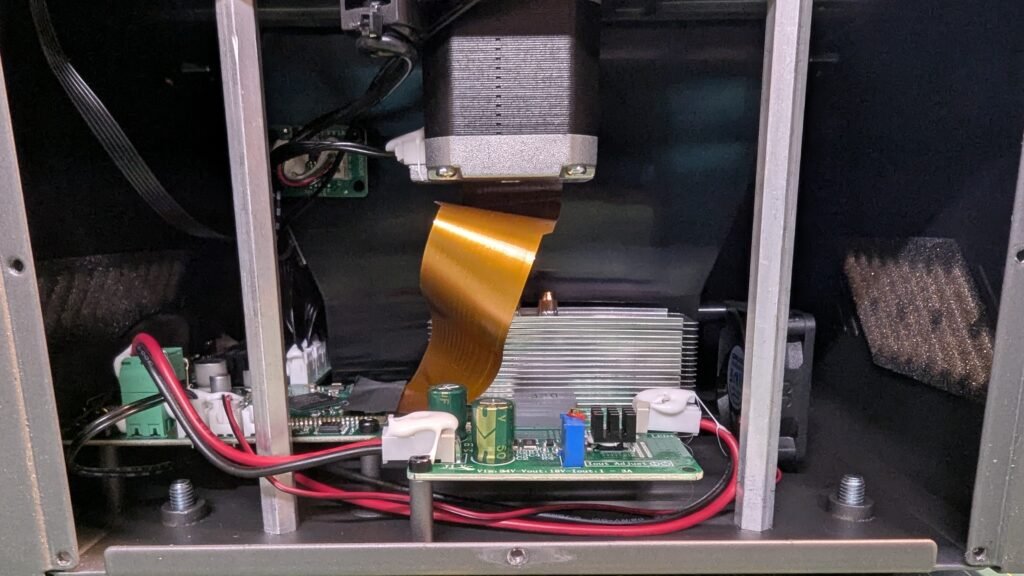
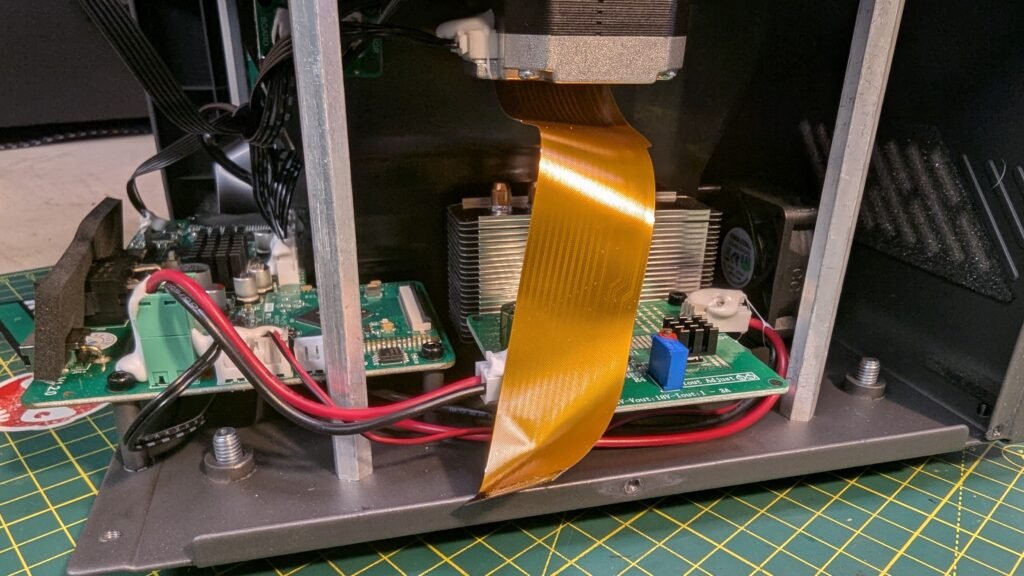
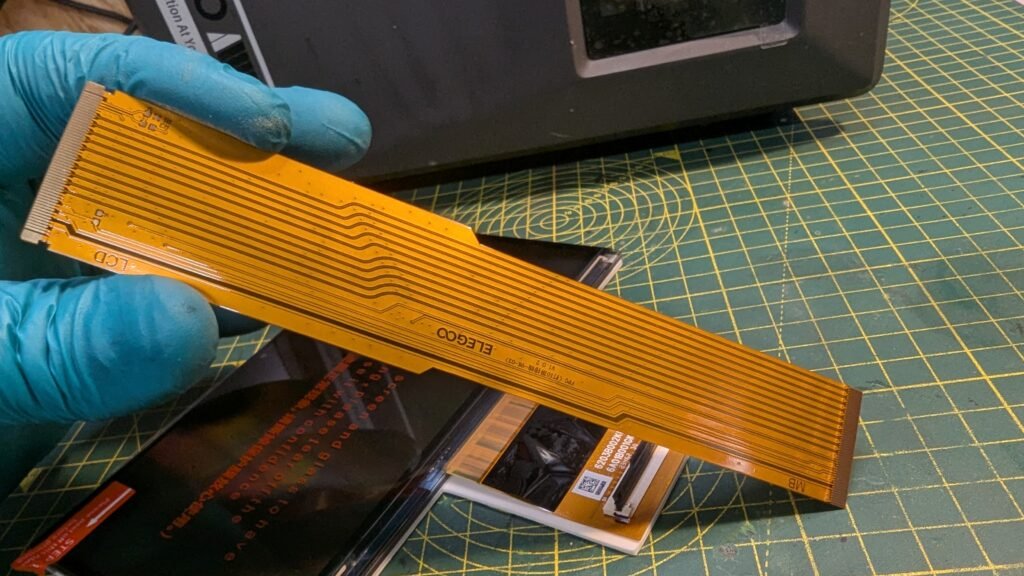
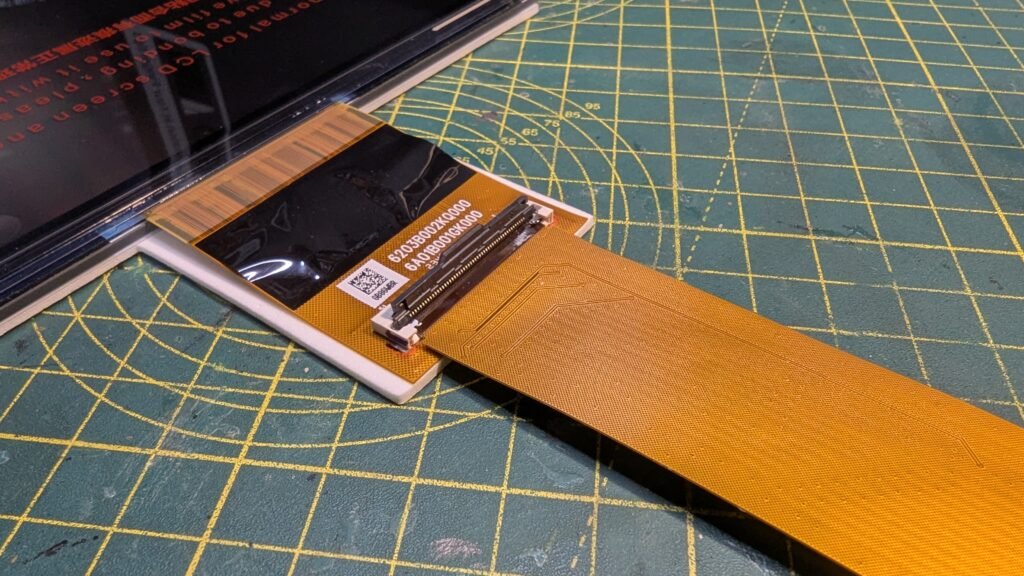
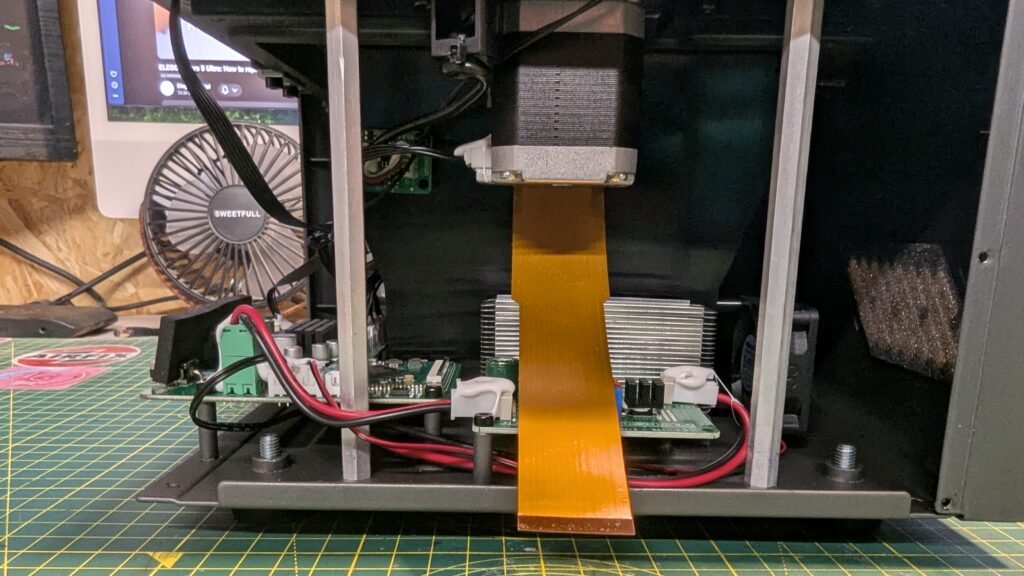
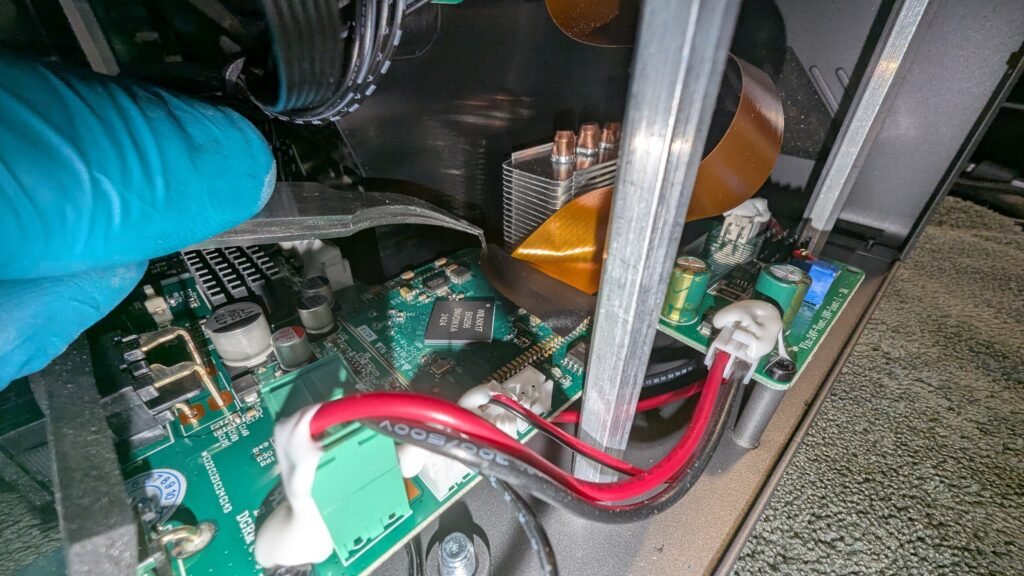
AFTER REMOVING THE BLACK TAPE YOU WILL SEE A WHITE AND BLACK THING AND YOU NEED TO FLIP THE BLACK PART TO TAKE THE GOLD CABLE OUT IT FLIPS UP PLEASE TAKE YOUR TAME AND BE CAREFUL AGAIN
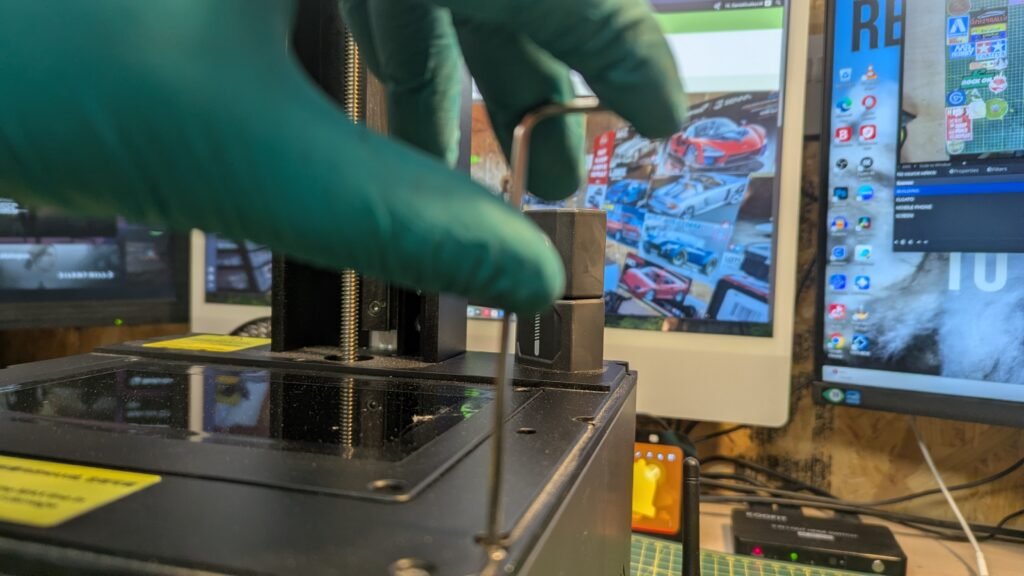
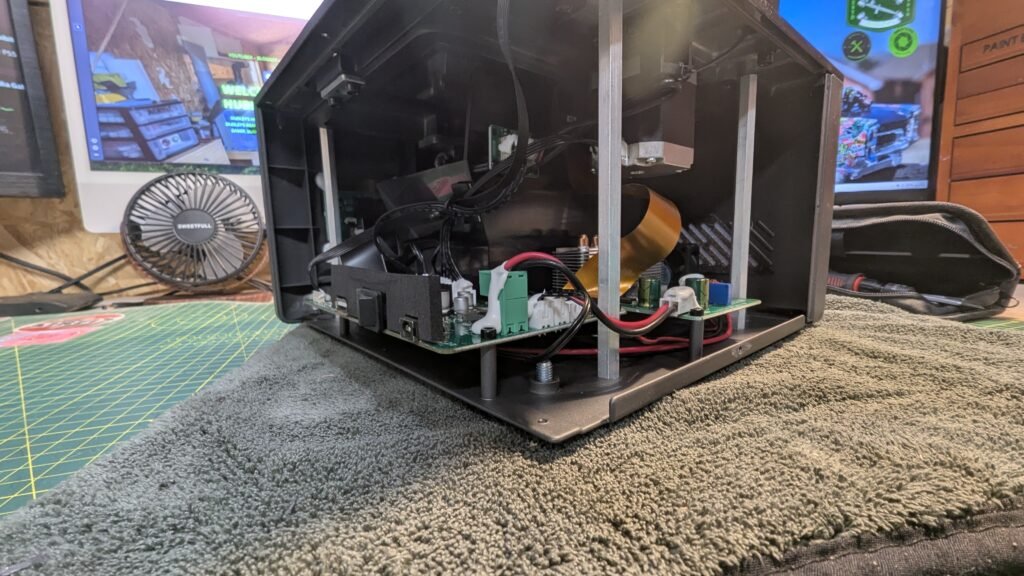
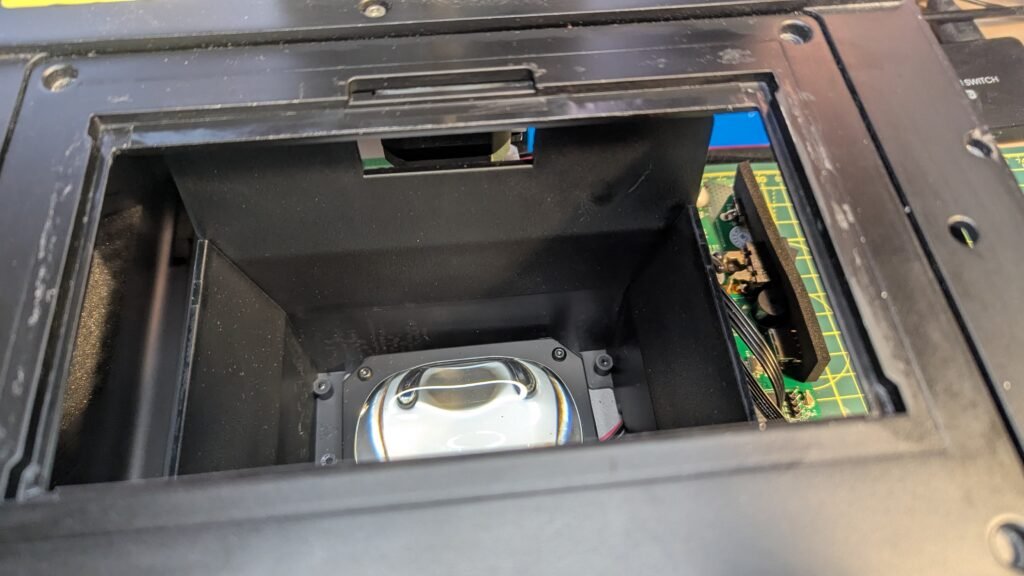
AFTER TAKING THE PANNELS OFF LOOK FOR THIS WHAT IS IN THE PHOTO AND REMOVE IT PLEASE BE CAREFUL
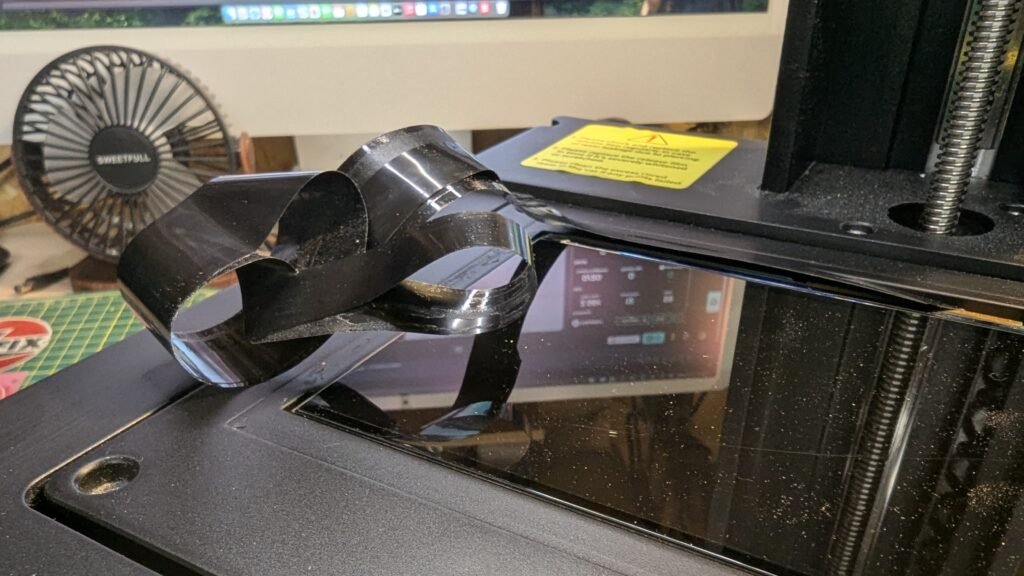
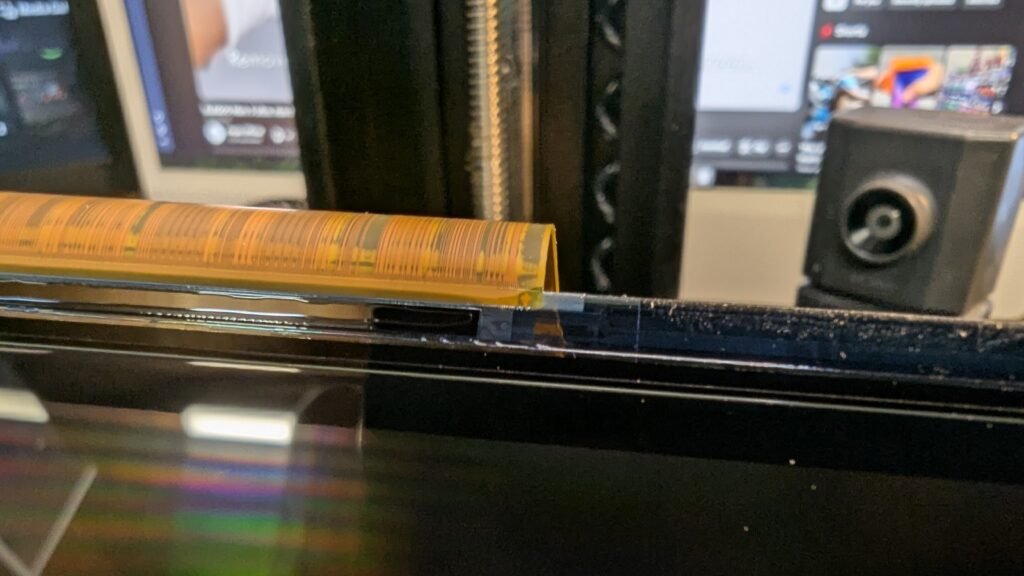
THIS NEXT PART IS IN WITH THE LCD, ON TOP OF THE PRINTER WHERE THE LCD PANEL IS THERE IS SOME TAPE AROUND IT REMOVE IT.
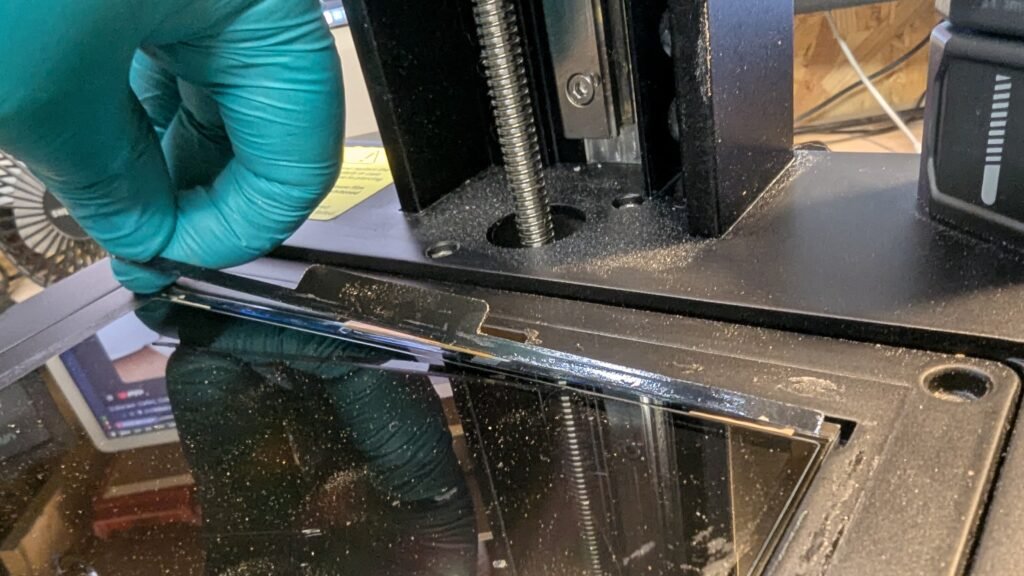
SADLY THIS PART IS NOT IN THE BOX, BUT IT DOSE NEED TO BE REMOVED, AFTER THE TAPE YOU WILL FIND IT ON TOP OF THE LCD REMOVE IT AND KEEP IT SAFE.
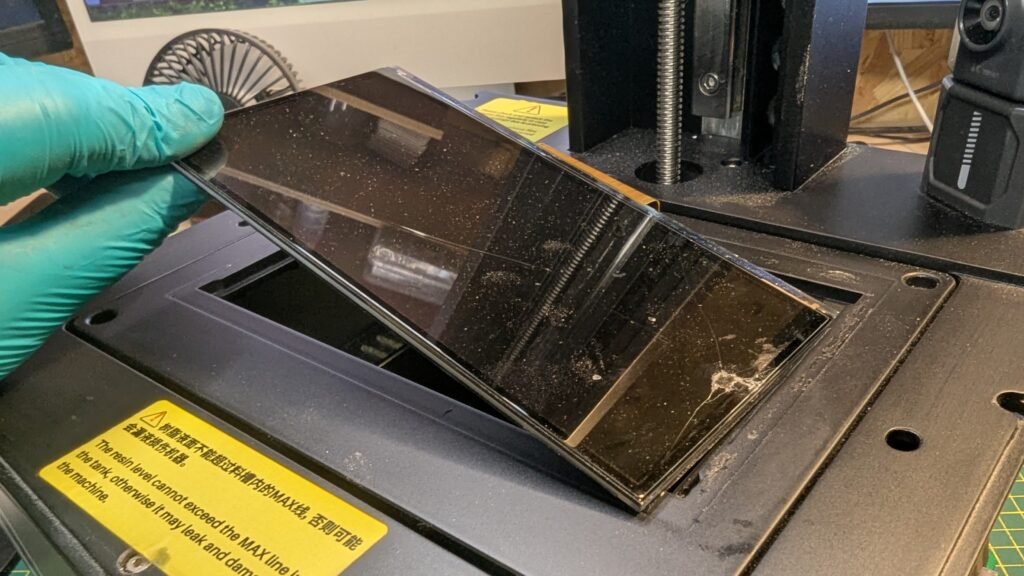
NOW REMOVE THE LCD PANEL AND THE GOLD CABLE WILL BE IN THE GAP JUST TAKE YOUR TIME. EVERYTHING ON THE LCD IS ADDED IN THE BOX
I USED POWER PRO AND IT SLOWLY REMOVED THE STICKY PART.
After letting it dry and getting everything ready, Get the double sided tape what is on a white paper with yellow on top.
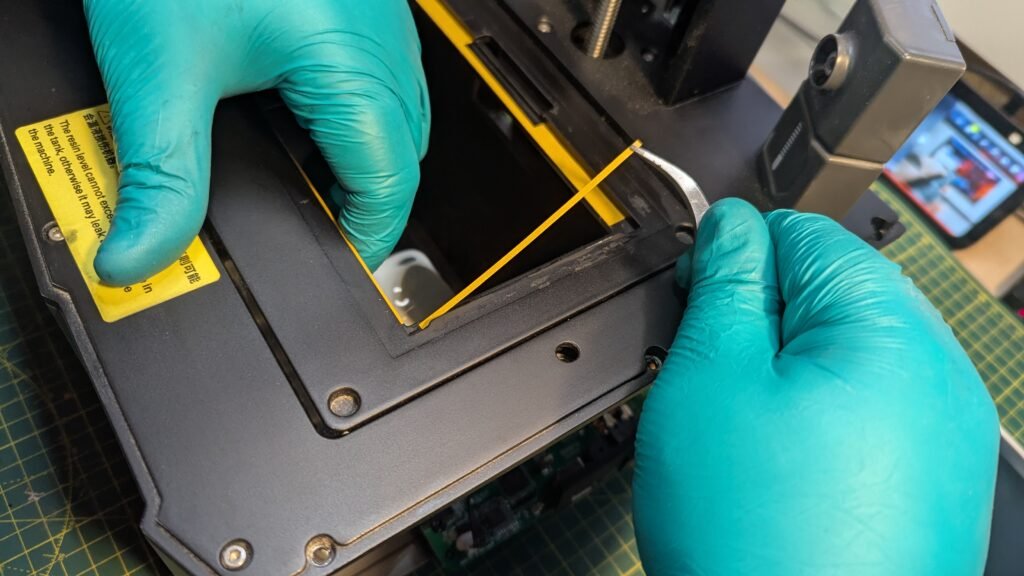
THIS WILL TAKE THE MOST TIME AND YOUR TEMPER TOO, JUST TAKE YOUR TIME AND YOU WILL GET IT DONE, I FOUND THE TOP PART THE MOST HARD AND THINKING AFTER I SHOULD OF DONE BOTH OF THE SIDES FIRST THEN THE BOTTOM THEN THE TOP IT MIGHT OF BEEN BETTER
TOP TIP I FOUND IT EASIER AND IT STOPPED IT GOING DOWN ON ME USE ONE HAND TO HOLD IT IN PLACE
WRONG WAY
RIGHT WAY
LIKE INSIDE THE PRINTER THE WHITE AND BLACK PART WHAT IS FOR THE GOLD CABLE YOU NEED TO REMOVE THE TAPE THEN FLIP IT UP AND IT WILL SLIDE OUT.
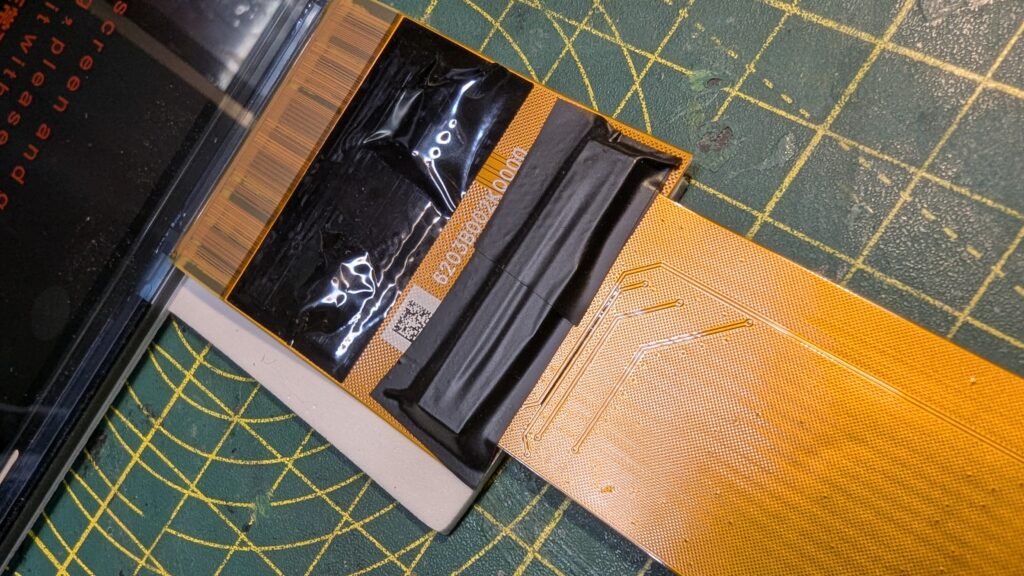
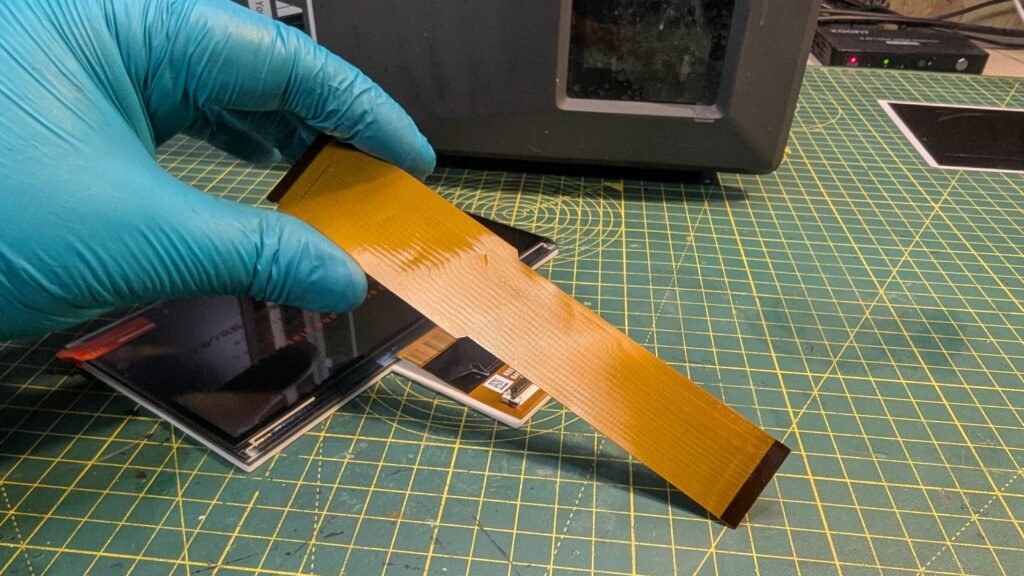
GET SOME CABLE TAPE BUT IT ON TOP OF THE WHITE AND BLACK AND THE GOLD CABLE
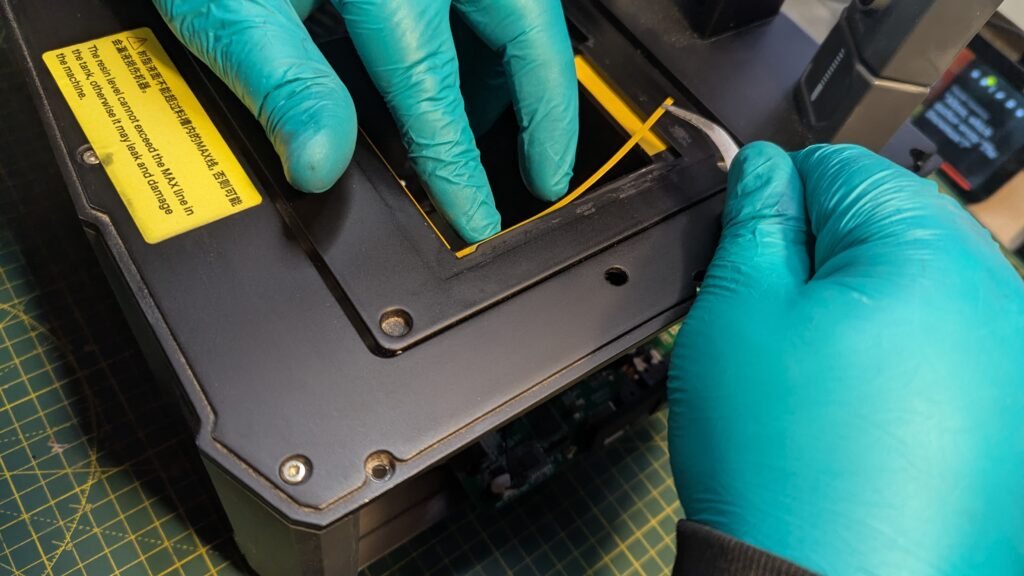
Now remove to yellow top of the double sided tape and but the LCD cable throug the hole and then place the LCD on to the tape.
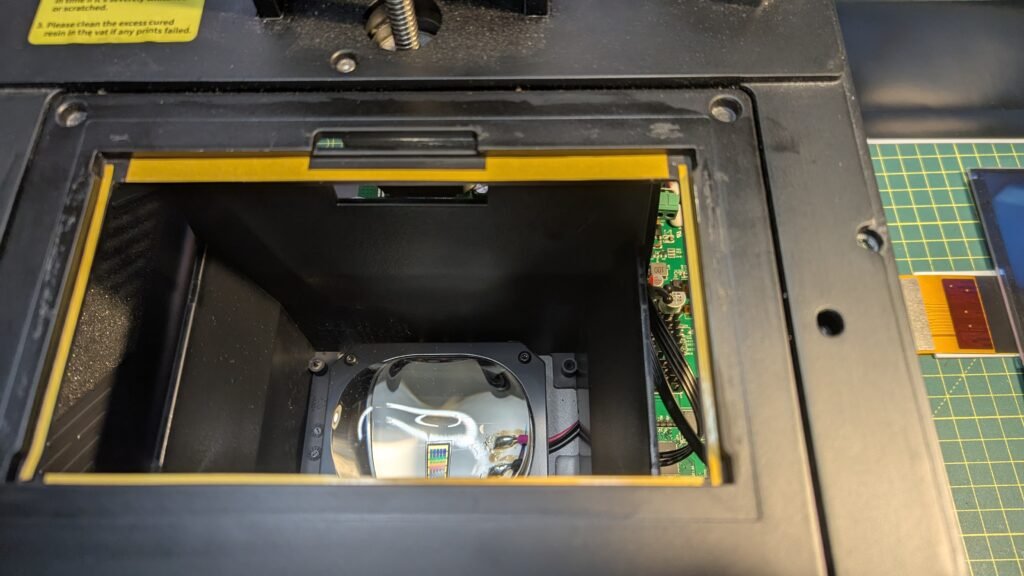
PLEASE HAVE YOURS LOOKING LIKE THIS
ON TOP OF THE PRINTER WHERE YOU NEED TO BUT THE BLACK TAPE THERE IS A LIP AND THAT IS THE RIGHT PLACE TO BUT IT
BUT THE GOLD CABLE BACK IN THEN GET SOME BLACK TAPE THEN BUT IT ON,
We are now at the point to test the screen you can see if it’s not broke and you can see of it’s working, I didn’t put the sides on luckily I didn’t this is where I found out the WIFI is broken and I just blocked it back in and powerd on and tested the screen it worked great. I will share some photo’s on how it should look.
Now but the pannels on then your ready to print, Please comment under the blog to share your way, I do theres blogs to help people and if your ways work why not share it.
Also I have got a video on my youtube channel what might be more helpful.
THANK YOU FOR YOUR TIME AND READING MY BLOG HOPE IT HAS HELP